Tips on getting the hard disk detected when installing Windows 10 Pro on an ML30Gen9 with B140i SATA controller.
Issue: The hard disk that is connected to the B140i SATA controller could not be detected during the Windows 10 setup.
Hardware:
HPE ML30Gen9 with B140i SATA controller and 1 x HDD (LFF) connected to the controller.
OS to be installed:
Windows 10 Pro.
As of this writing, the B140i driver for ML30Gen9 does not seemed to have a version specifically meant for Windows 10. However, in this guide, I have successfully used the driver that is meant for Windows 2012 in its place.
Drivers you will need to download (the B140i drivers) from this link: https://support.hpe.com/hpsc/swd/public/detail?sp4ts.oid=1008556814&swItemId=MTX_e88d0ce4d976423db2ebade3e4&swEnvOid=4184#tab5
You should be able to download an exe file “cp028631.exe” (version 62.12.0.64(24 Oct 2016)) from the above link as of this writing.
Open the file using either winzip or winrar and extract the files to your flash drive. You will need it during the windows 10 setup process.
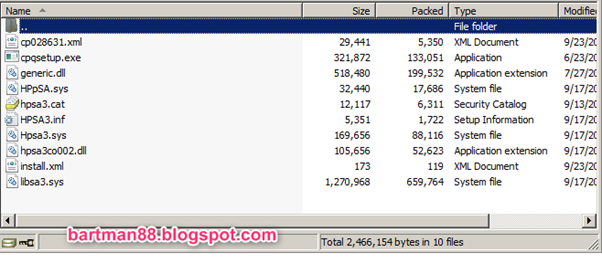
Here’s a list of the files in “cp028631.exe” (version 62.12.0.64(24 Oct 2016)).
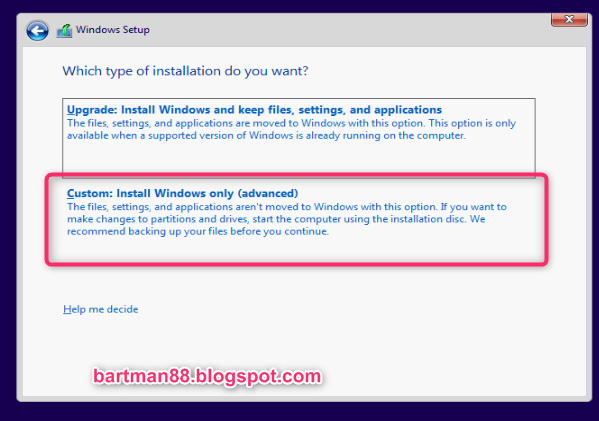
Here’s a quick screenshot sequence of how to get the drivers working during the Windows 10 Pro install.
As usual, if you are doing a clean install, you will select “Custom: Install Windows only (advanced).
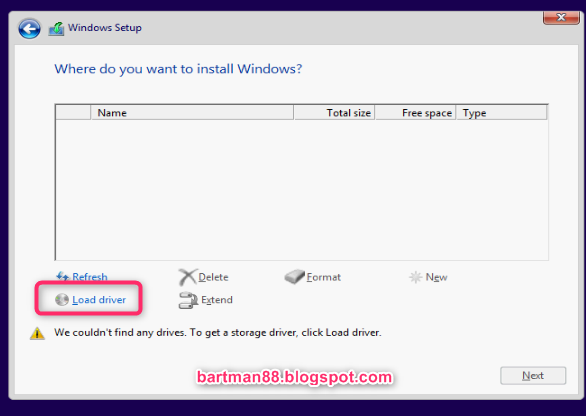
You will be greeted with an empty list. An error message “We couldn’t find any drives. To get a storage driver, click Load driver.” will appear below the list. Click on “Load driver”.
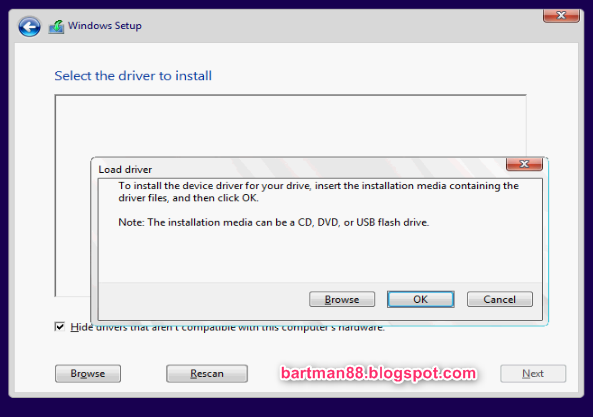
A “Load driver” window will appear. At this point, insert your flash drive containing the B140i driver and click on “Browse”, then select the flash drive with the driver files.
If the files are detected, you should see this B140i driver selection almost immediately. Choose the one highlighted in blue in the screenshot below and click Next.
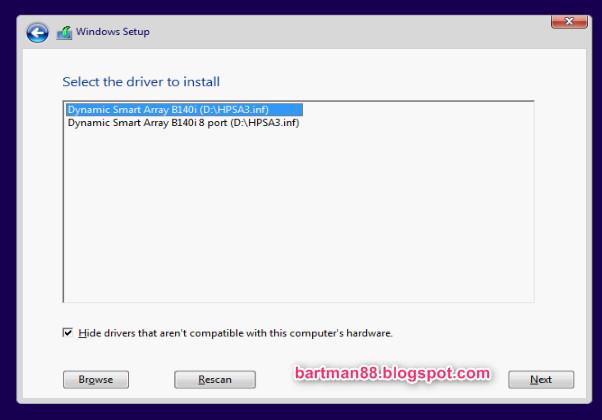
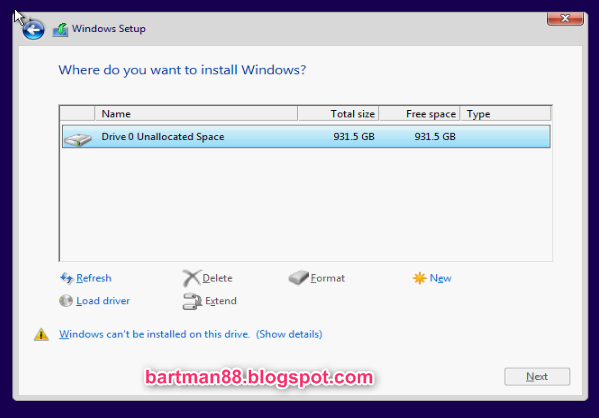
You should be able to see the hard disk now. Ensure that you have reinserted the windows 10 installation media. If the installation media is missing, you will get a “Windows can’t be installed on this drive” message. After you have pop the Windows 10 installation media back in and hit “Refresh”, the warning message will disappear.
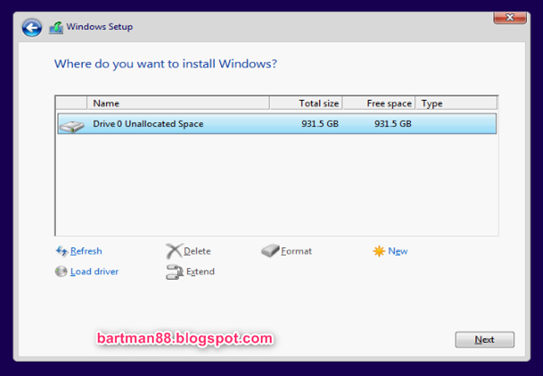
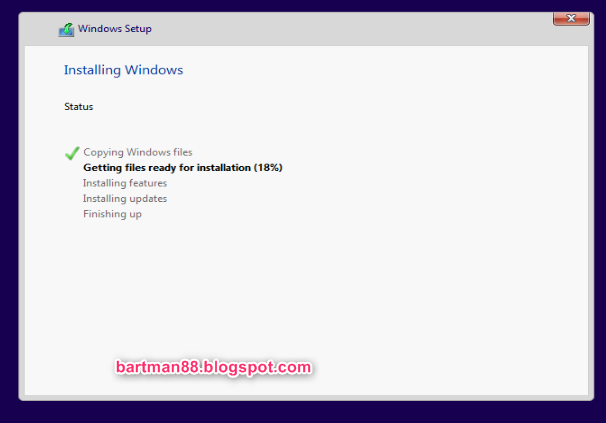
Like so…and finally, just hit the Next button and you are on your way to Installing Windows 10.
That’s I.T! Happy Installing!
Hope this will help someone out there.

Comments
Post a Comment