Posts

Showing posts from December, 2018

Replacing Teclast X98 Air 3G bloated battery
Image
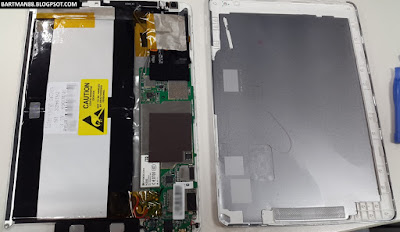
After replacing my Teclast X98 Air tablet’s badly bloated battery a few months back with a new battery, the battery is bloating again. Here’s the link to my first battery replacement https://bartman88.blogspot.com/2018/03/replacing-badly-bloated-battery-of-my-teclast-x98-air-3g.html . After the first incident, i am better at spotting the signs of a bloated battery on the tablet. One of the most common signs of a bloated battery is that the tablet is not able to lay flat on the table. This is a very obvious sign that something is wrong with the battery. You might also noticed that the LCD is touching the digitizer surface internally (which it should not be doing). So I opened up the back cover of the tablet once again and true enough, the battery is bloated. But this time, the battery is only half bloated. Since this replacement battery is made up of 2 lithium polymer battery wired in parallel, only one of them has gone bad. Not wanting to spend more money on
XiaoMi REDMI Note 2 Battery replacement.

Image
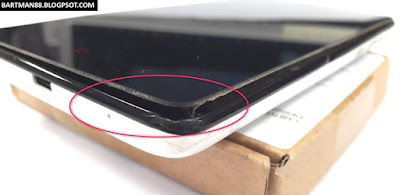
Recently, I noticed that the LCD screen on my XiaoMi REDMI note 2 phone is starting to peel off from its frame. I was wondering what could be wrong with the phone. What’s causing the LCD screen to peel off from the frame? Could it be that the adhesive is loosening up? So, I open up the back cover to perform some simple check. Suddenly, the battery flew out from its slot. The battery was so bloated, it is only held in place by the strength of the rear cover. Looks like it’s time to get a replacement battery. I search around and settled for a OEM replacement battery (battery model BM42) on Aliexpress and ordered one. Have a look here if you need to get one for yourself. After almost 4 weeks of waiting it finally showed up in my mail box. Placing them side by side, you can see how badly the original battery has bloated. The new battery fitted into the phone nicely and it is working fine. However, after a few rounds of capacity measurements, I found tha

Disassembling the XiaoMi NDY-02-AM 5000mah Powerbank

Image
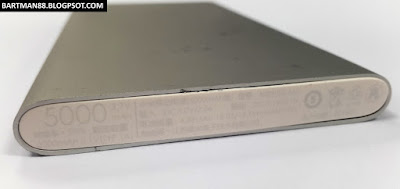
Got this defective XiaoMi 5000mah lithum polymer power bank or power pack quite some time ago. It’s time to strip it apart to have a look under the hood. To get inside this power bank, as there are no visible screws from the outside, you will need to pry out the covers on the sides to reveal the screws. With the screws removed, just slide the battery out from the case. Inspected the PCB and found a burnt component. Looks like its some transistor or a MOSFET. Here’s the rear of the pack in its chassis. But in order to have a clear view of the top of the PCB, the chassis has got to go.. Finally after a short struggle with the double sided tape that is holding down the lithium polymer battery, the front of the PCD is revealed. Hope this is helpful to someone out there. This powerbank is available from Amazon here for those who might be interested.

Installing Sound Blaster X-Fi Surround 5.1 Pro USB on Windows Server 2016.

Image
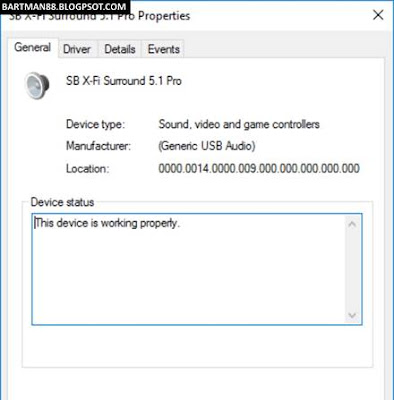
Sound Blaster X-Fi Surround 5.1 Pro USB on Windows Server 2016 OS? Will it work on a server box? (It works on Windows Server 2008 R2. Check out the post here .) After some testing, I manage to get it running on the Windows Server 2016 OS on a HPE ML310eGen8 v2 server box. There’s no driver specifically meant for Windows Sever 2016. You will need to use the Windows 10 driver instead. However, I found that the latest drivers (2018-Sep) when run, will prompt an error message saying something like the OS is not supported and refuse to continue. Even without installing any drivers, once you plug the Sound Blaster into the USB port, Windows Server 2016 will detect and install the generic sound card driver for it. Although the OS is able to work with the sound card, but without the other accompanying software like “Entertainment Console”, you will not be able to make use of the full capability of the sound card. I wanted to install the driver from the driver CD that

Disassembling the Amazon Kindle EY21 3G

Image
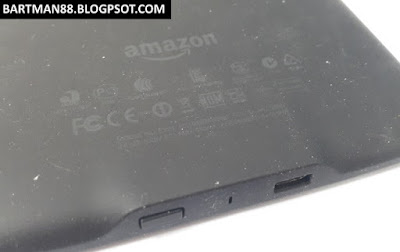
Got a defective Kindle Ey21 3G quite some time ago for a friend. It’s being laying around and collection dust in a hidden corner. Time to put it to good use, by taking it a part for all to see what’s under the hood. This unit either have a faulty main board or a defective display. It is constantly stuck in the display. To get to the internals, the first thing is to peel open the front bezel that is glue down with double sided tape. Once the front bezel is removed, all the screws will exposed. After removing all the screws, the display can be removed from its housing. Flipping the display over will reveal the main board and battery. The controllers and processors are all hidden under RF shields. Removing the battery and Wifi/3G modem. I was quite surprised to find a SIM card in this Kindle. Removing the bracket that is holding the wireless antennas. And finally, removing 2 of the flex cable connection on the left and right side of th

Battery operated quartz mechanism clock repair

Image
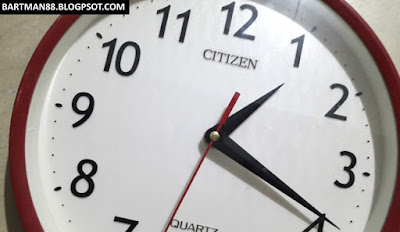
Recently, my battery operated quartz clock stopped working. After some debugging, I found that the quartz mechanism has failed. Not wanting to waste the perfectly fine clock casing, I decided to look for a replacement quartz mechanism to have the clock repaired. After searching around in Aliexpress, I found that replacement clock quartz mechanism are relatively inexpensive. I then decided to go ahead and purchase one unit to try, anyway its only about US$1 each. Long story short, I ended up getting another unit because the first unit’s internal gears are somewhat grinding against something. The second unit also had the same problem, but it was not as severe as the first unit. I then open up both of them, realigned the gears and added some lubricant. Both units begin running fine after all that. Here’s a picture of the units. I proceed to install the replacement and it is up and running in about 15mins. After about 1 month of running on a fresh EVEREA

Samsung Travel Adapter EP-TA10UWE Disassembly and repair.

Image
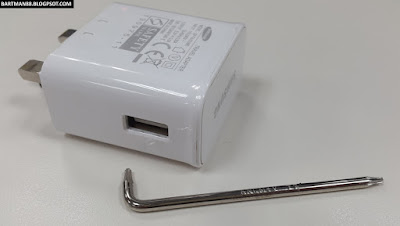
Found this faulty Samsung travel adapter EP-TA10UWE (2A) and decided to take it a part to see what’s inside the hood. This adapter is a common charger that you might get when you purchase a Samsung mobile phone. The date code on the PCB indicated that it is from 2013. To gain access to the PCB, I found out that you have to pry a part the “wrap” that is covering the back cover. There are no screws that you will need to remove. Next, I used a pair of snips to try to cut away the back cover not knowing that it is actually clipped on. Not wanting to further nip the back cover to pieces, I decided to try prying open the back cover with a flat head screw driver and it worked. Finally, with the help of a long nose plier, the PCB is out of the case. Here’s a detail look at the PCB. After probing around the PCB with a multimeter, I noticed that the fuse(AC live input) is very loose and there’san open circuit on the connection on the PCB. With a